
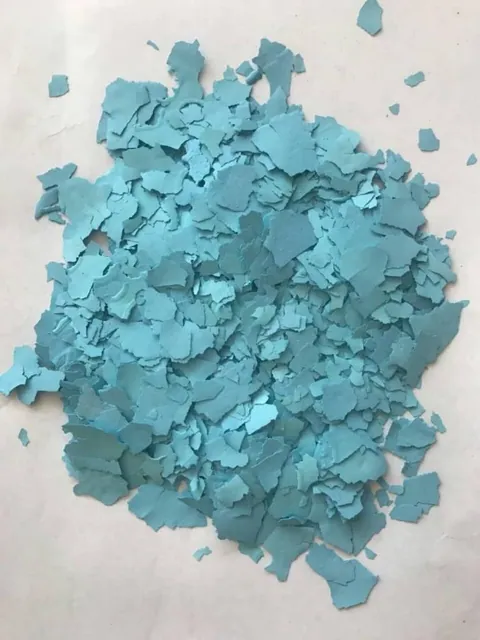
Definition
Ceramic-based, with an acrylic binder
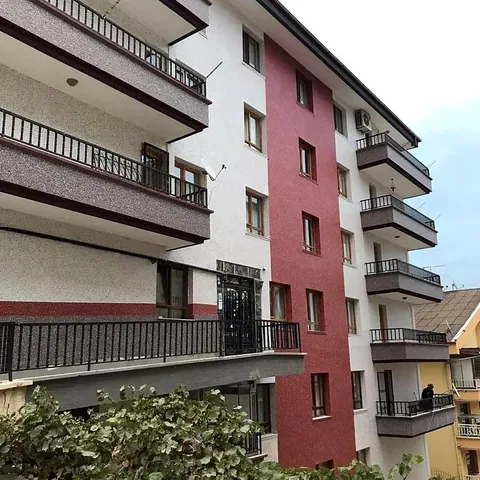
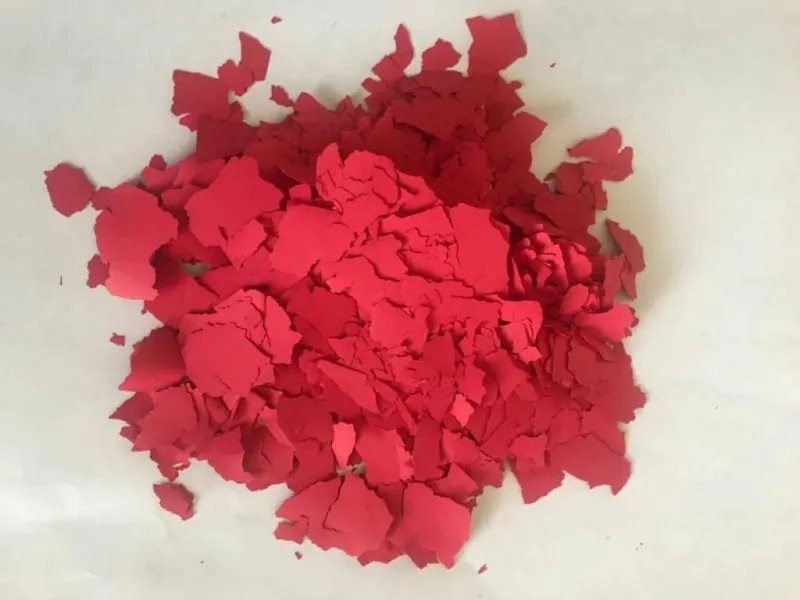
Shell (leaf, ceramic) plaster is made from high-strength acrylic resin and ceramic-based shell fragments. Ceramic particles fired at high temperature in special kilns become a decorative plaster that adheres strongly to the surface and is easy to apply.
Because it carries the main colours of granite and marble, it gives a facade the look of a single, seamless slab of granite. The shell texture covers cracks, and its flexible structure withstands deformation caused by movement.
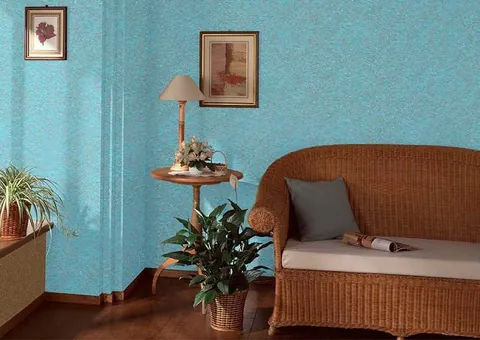
It is an interior and exterior coating that can be applied to many surfaces, including concrete, block, aerated concrete, render, brick, mineral surfaces, glass, iron and wood.
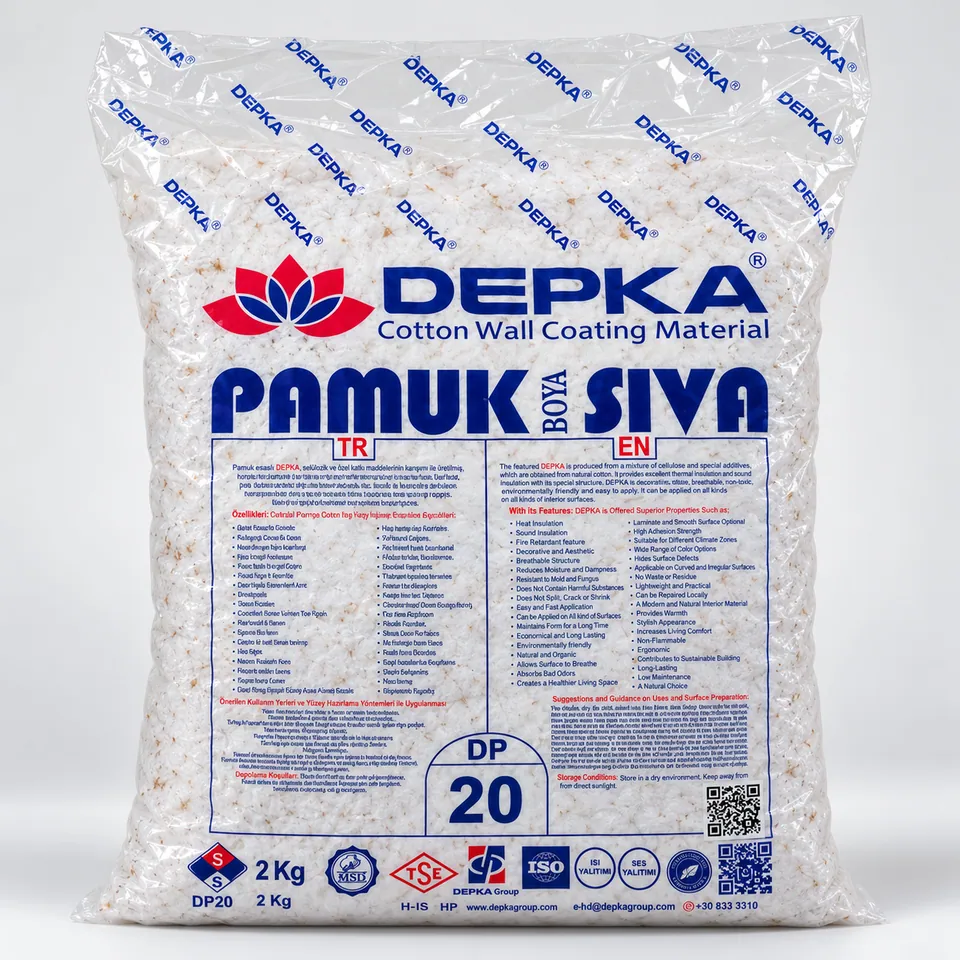
We describe the properties of shell plaster and DEPKA's products in this family in our article DEPKA ceramic plaster, shell plaster and leaf plaster; this guide focuses on materials, application steps and the points to watch.
Product and application materials
- Ceramic particles (shells)
- Main product
- Thickening powder
- Added to the mix
- Binding adhesive (acrylic)
- Added to the mix
- Shell plaster primer
- Required before application
- Steel trowel
- For application
- Sealer
- Optional; applied to the surface after application
- Water
- 15 litres of clean water
- Application temperature
- Not applied below 5 °C
Application
Ceramic plaster in four steps
- 01
Prepare the surface
Repair any damaged areas of the wall and get the surface ready for priming.
- 02
Prepare the mortar
Pour 15 litres of clean water into a large plastic tub and add the thickening powder. Tip the shells into the water and soak them thoroughly. Add the binding adhesive and mix until you have a smooth mortar with no lumps.
- 03
Prime and apply
Apply the shell plaster primer to the surface. Once the primer is dry, apply the mortar with a steel trowel. If it sags in places, smooth it again with the trowel so that it holds to the wall.
- 04
Seal (optional)
Once dry, you can apply a sealer with a brush or roller. The sealer gives a glossier look and a surface that does not hold water.
Points to watch
- A mixing drill is not recommended, as it can break the ceramic particles; if you must use one, mix at a very low speed.
- Use up the mortar once it is mixed; do not leave it for later.
- Do not apply when the air temperature is below 5 °C.
- After drying, a surface that gets wet may turn milky for a while. It soon returns to its original colour, and after a time this no longer happens.
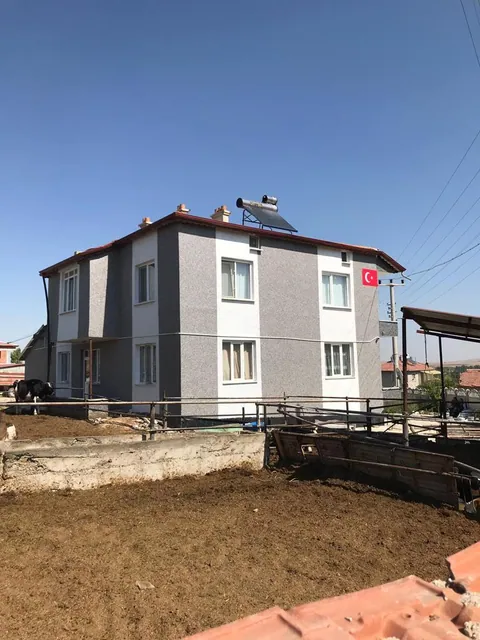
Aftercare and repair
Ceramic plaster needs no maintenance and is washable. If it is damaged by external factors, it is repaired with the same product, and the repaired area shows no join.
For current colours, stock and prices, please contact us. The product's technical details are on the shell plaster page.
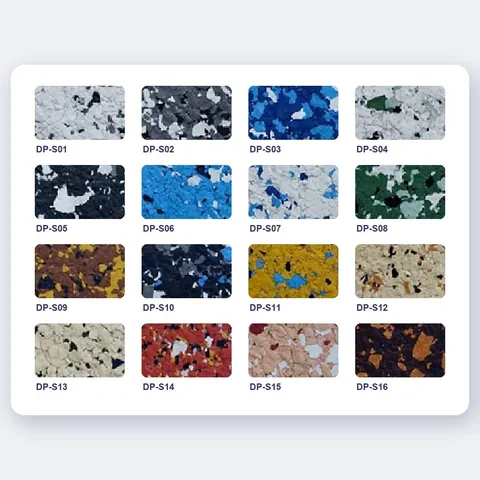
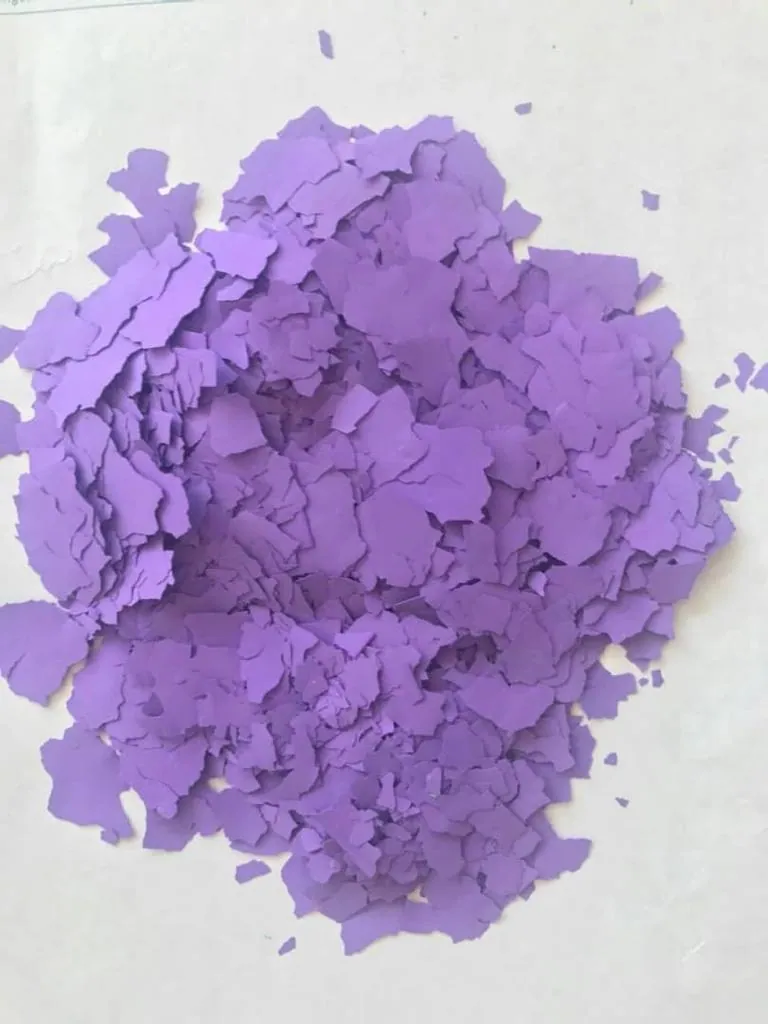
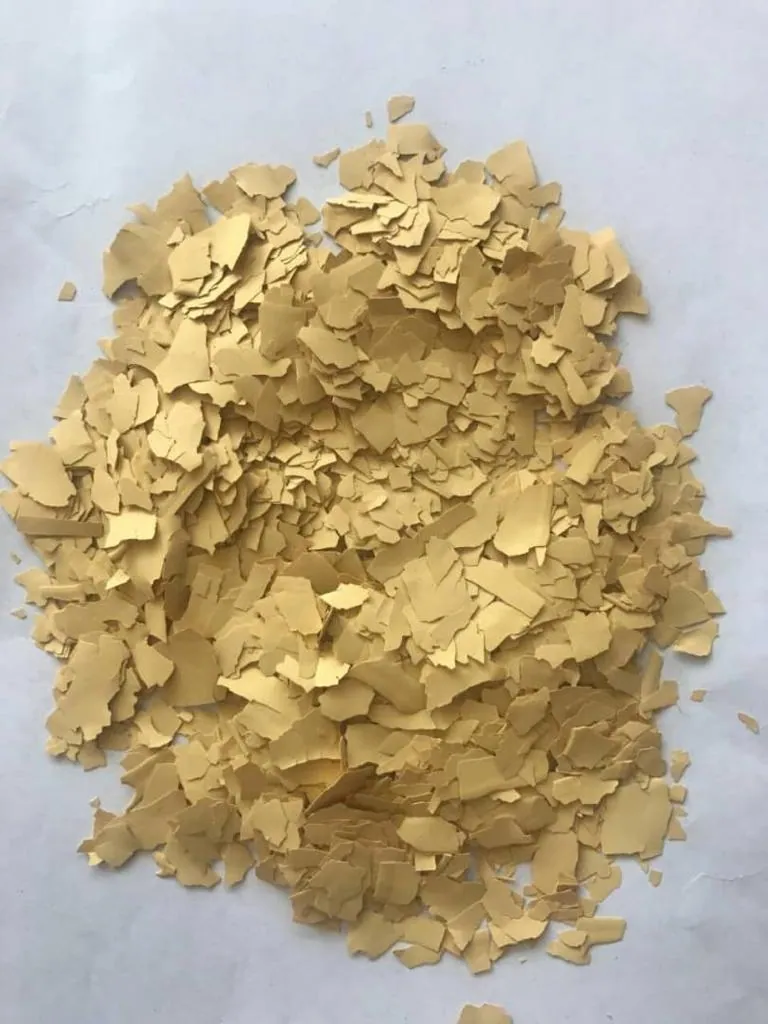
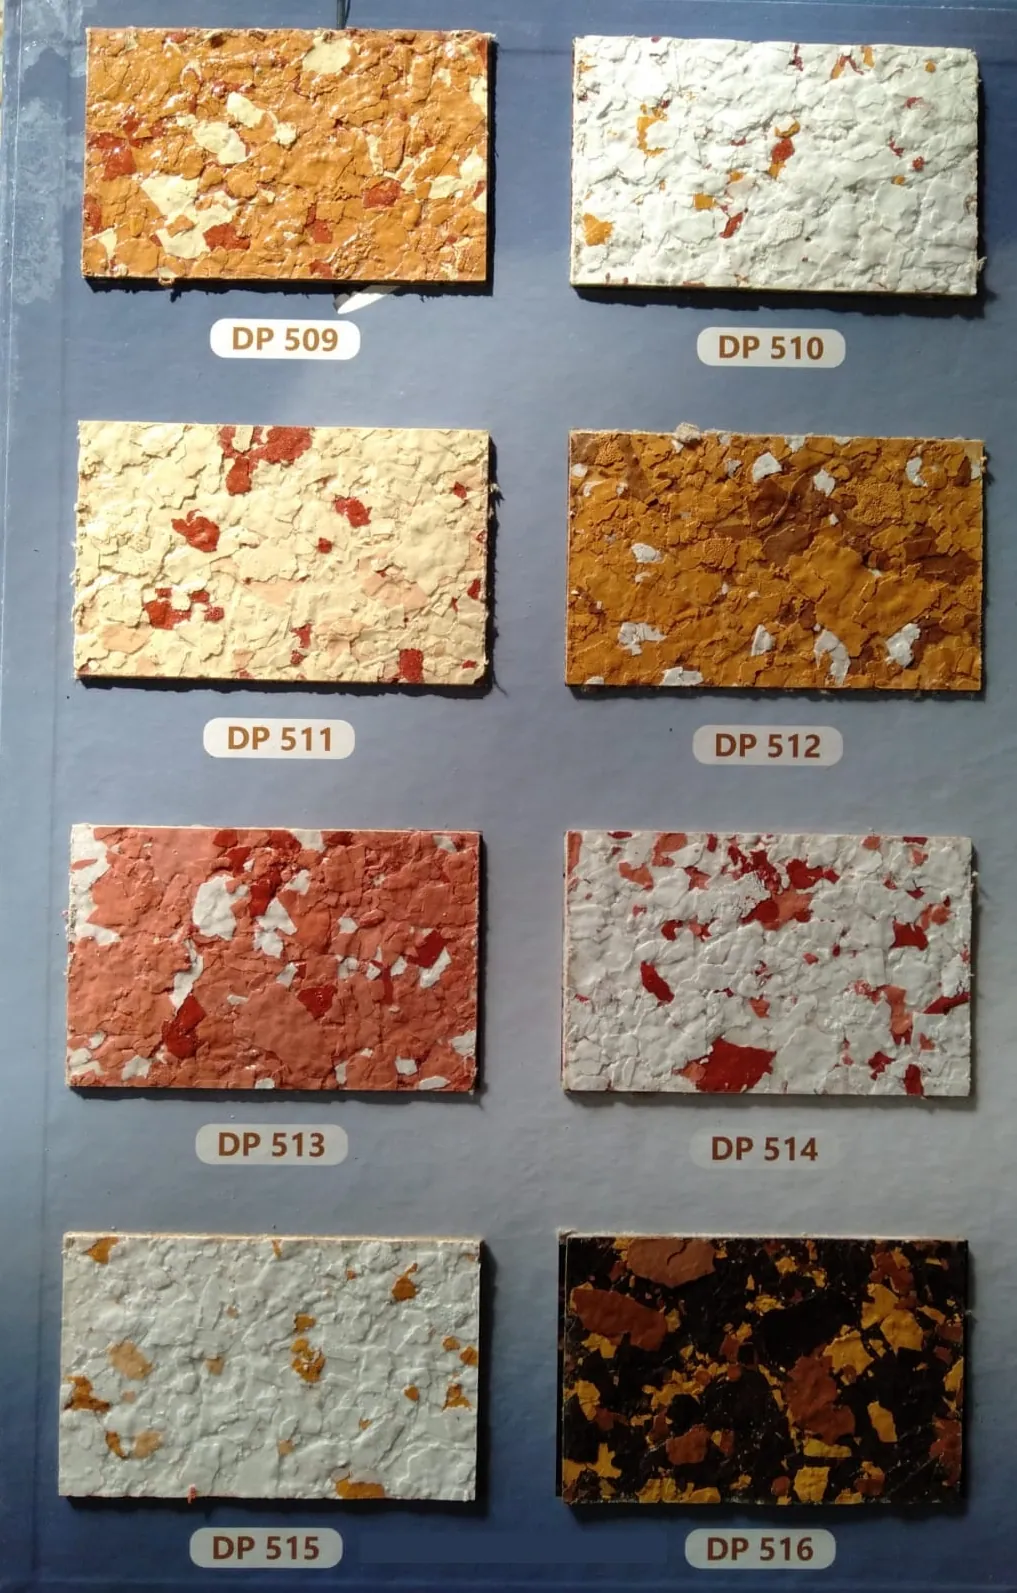
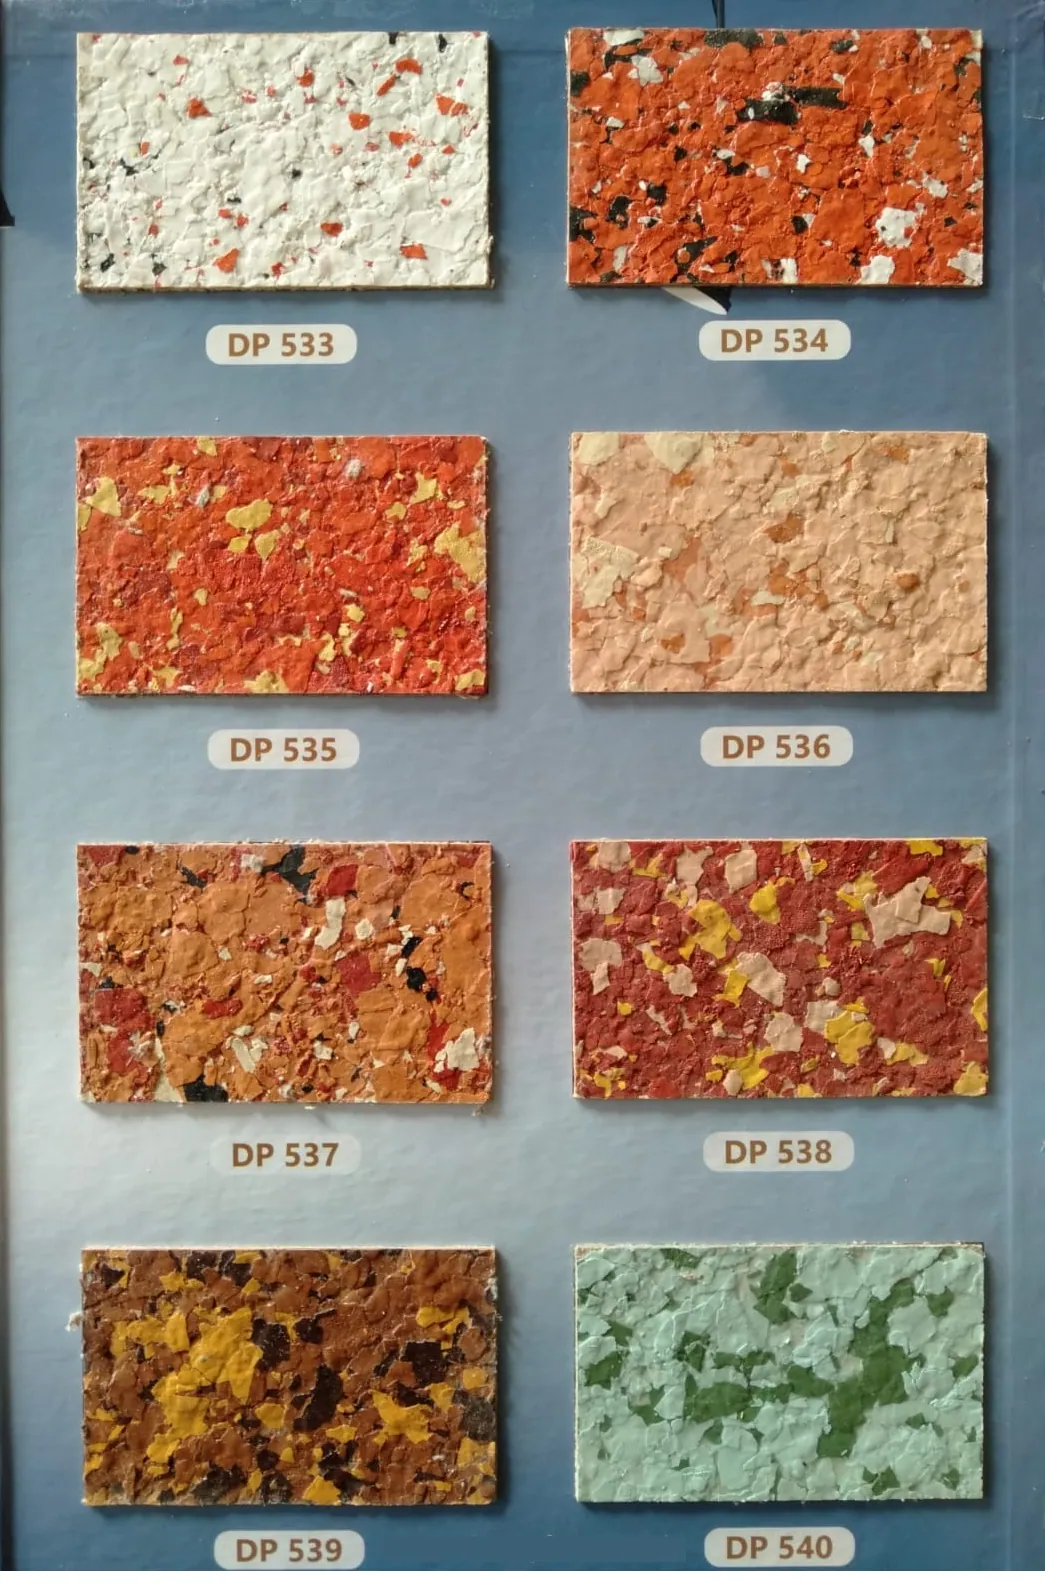
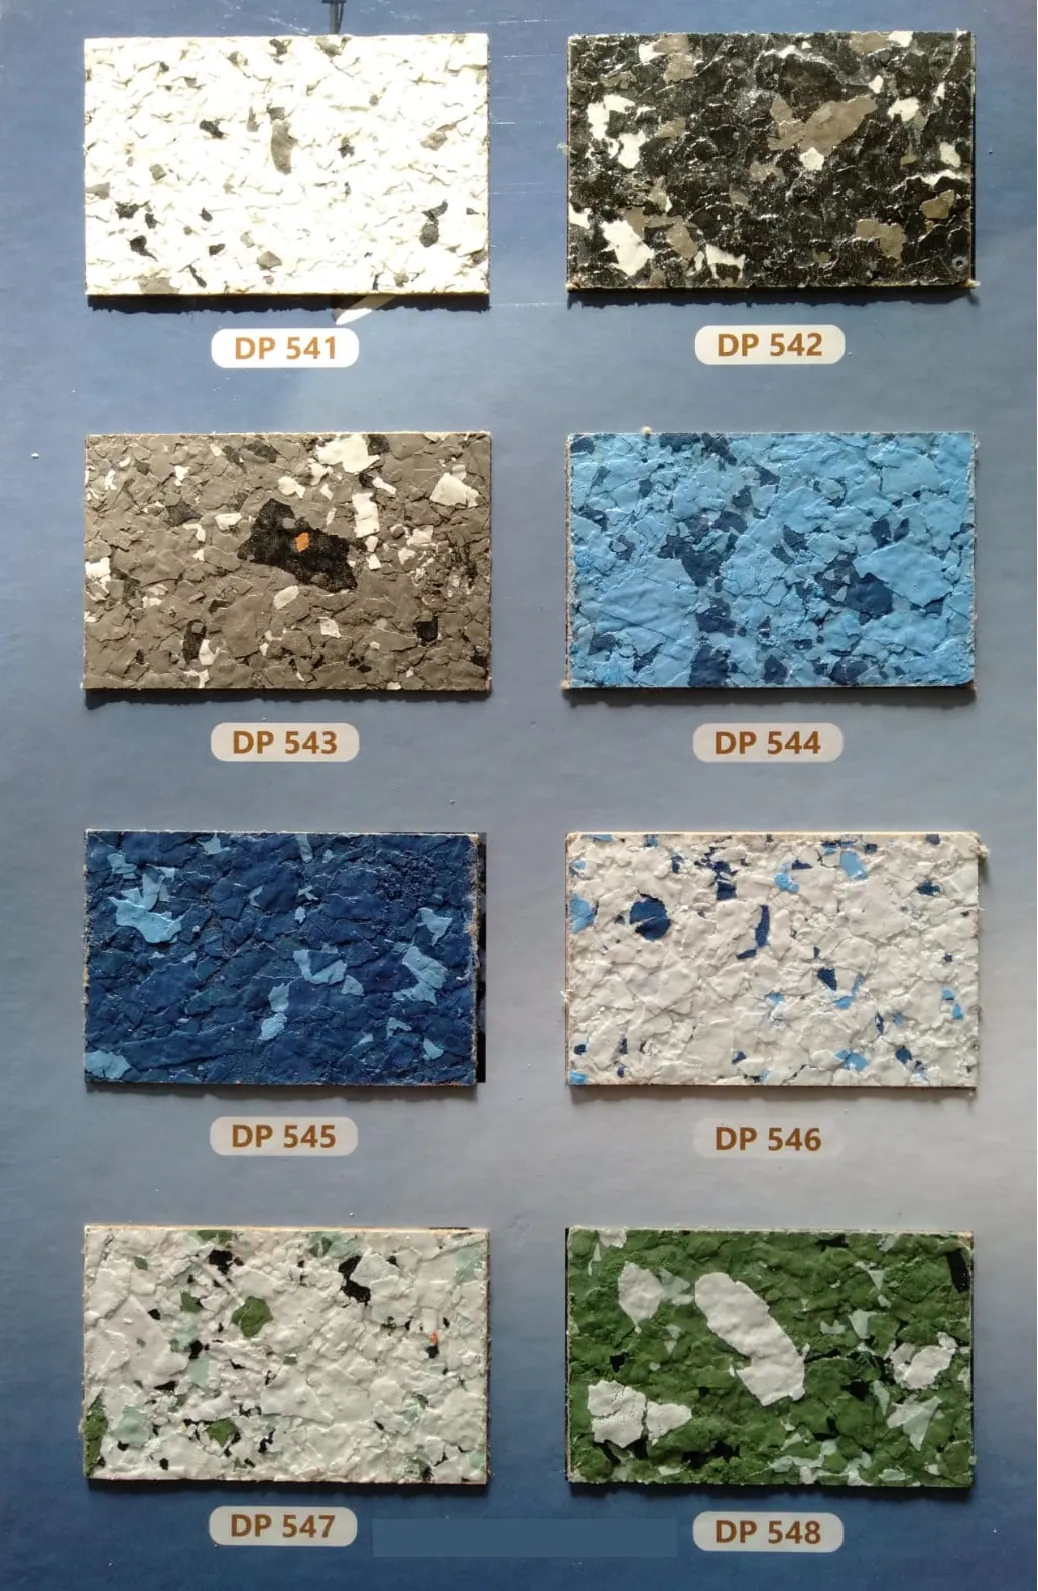
Colour and texture
About ceramic plaster
Does ceramic plaster need a primer?
Yes. Shell plaster primer must be applied to the surface first and left to dry before application.
How many square metres does one set cover?
A 20 kg set covers 18–20 m².
Can it be applied in winter?
It is not applied when the air temperature is below 5 °C. In colder months, plan the work for days when the temperature is suitable.
Does it turn white after drying?
A surface that gets wet may turn milky for a while; it soon returns to its original colour, and after a time this no longer happens.