

Application guide
How to apply cotton plaster: preparation and application guide
DEPKA cotton plaster is a decorative cotton wall coating that comes ready in the pack: you simply mix it with warm water and spread it on with the transparent DEPKA trowel. No special equipment is needed, and with the right preparation a smooth finish is easy to achieve.
Preparation
What you need
DEPKA cotton plaster
The main product. 2 kg pack; 1 kg covers 3.5–4 m².
Explore →Transparent DEPKA trowel
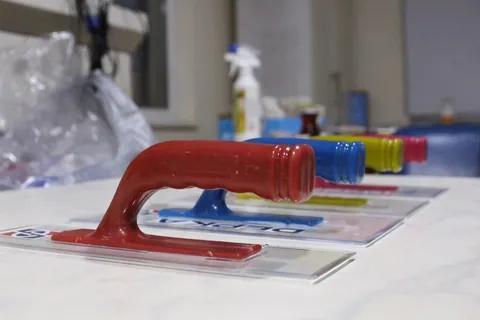
A clear plastic application trowel, so you can see exactly what you are doing as you work.
Explore →Container and warm water
A large plastic container and clean, warm water. Nothing else needs to be added.
Primer (if needed)
Not essential; recommended only on painted or damaged surfaces.
Summary
Application in four steps
- 01
Prepare the surface
Wipe off dust with a damp cloth, remove paint and wallpaper that dissolve in water, and fill any large gaps.
- 02
Prepare the product
Add 4 litres of warm water per 1 kg of product, mix for 20–25 minutes, leave to rest for 20 minutes and mix again for 5 minutes.
- 03
Apply
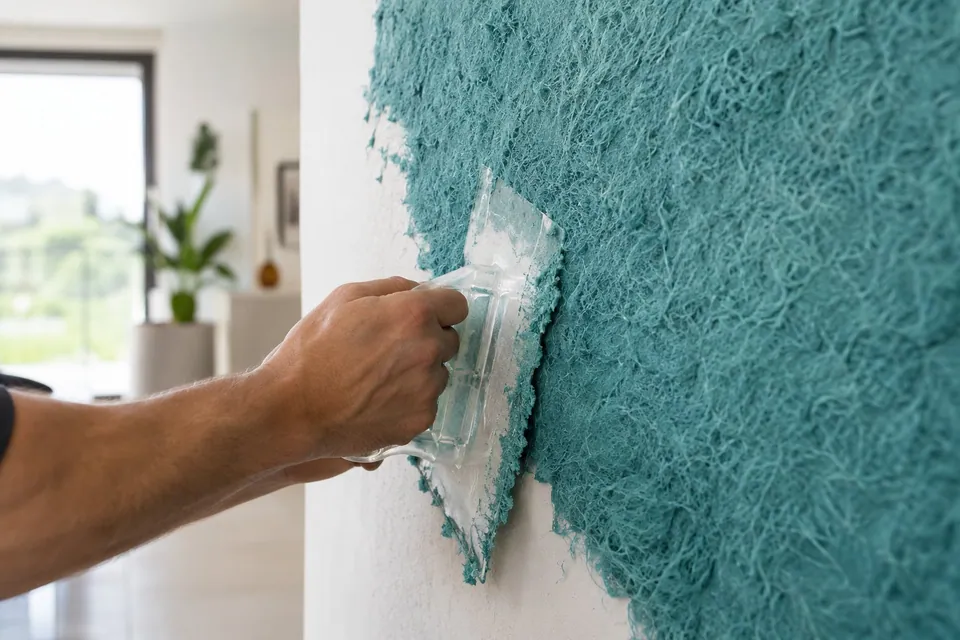
Spread it onto the wall 1.5–2 mm thick with the transparent DEPKA trowel and smooth it out.
- 04
Let it dry
It dries in 12–24 hours, depending on the weather. Keep the room ventilated during this time.
1. Surface preparation
Cotton plaster can be applied to interior surfaces such as concrete, plaster, gypsum, plasterboard, brick, aerated concrete, wood, glass, metal, PVC, stone and ceramic. Bare surfaces need no extra preparation, but run through these checks before you start:
- Remove dust. Wipe the surface with a damp cloth and let the wall dry.
- Remove anything that dissolves in water. Low-quality paints and wallpapers dissolve on contact with water and bleed into the cotton plaster, so remove them first. Cotton plaster is not applied over wallpaper.
- Fill the gaps. Fill large holes and gaps with gypsum or cement; this way you use less product.
- Take care with painted surfaces. If the wall was not dusted before it was painted, the paint may blister when cotton plaster is applied. To be on the safe side, use a silicone-free bonding primer on painted surfaces; ceiling paint can also serve as a primer.
- Consolidate damaged surfaces. On crumbling, dusty surfaces, a concrete contact primer creates a firmer base.
If you have applied primer or wiped the wall with a damp cloth, wait until the surface is completely dry before you start on the cotton plaster.
Preparation by surface
| Surface | What to do |
|---|---|
| Concrete, base and finishing plaster, brick, aerated concrete | Remove dust and apply directly |
| Gypsum, satin gypsum skim, plasterboard | Remove dust and apply directly |
| Paint that does not dissolve in water | Remove dust; a silicone-free bonding primer or ceiling paint is recommended |
| Low-quality paint that dissolves in water | Remove the paint |
| Wallpaper | Strip it; cotton plaster is not applied over wallpaper |
| Crumbling, damaged surface | Apply a concrete contact primer |
| Large holes and gaps | Fill with gypsum or cement |
| Wood, glass, metal, PVC, stone, ceramic | Must be clean, dry and dust-free |
Not sure about a surface? Send us a photo and we'll help you work out the right preparation.
Step 2
Preparing the product
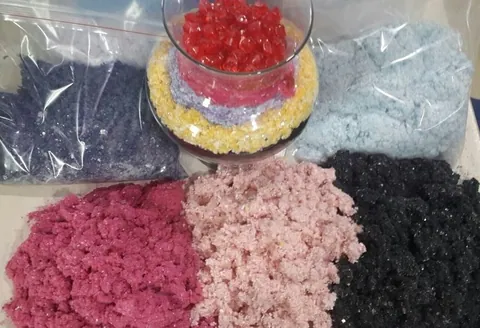
- Measure the area and work out how much you need: 1 kg of product covers 3.5–4 m².
- Empty the amount you need into a plastic container. Do not mix more than 6 kg at a time.
- Before adding water, stir gently by hand or with a mixer to loosen any cotton that has stuck together.
- Add clean, warm water at four times the weight of the product: 4 litres per 1 kg.
- Mix for 20–25 minutes, until the cotton has fully absorbed the water.
- Leave to rest for at least 20 minutes so the water soaks right into the cotton; the longer you leave it, the easier it is to apply.
- Mix again for 5 minutes. The mix is now ready to use.
The right consistency is soft and pliable, about as soft as an earlobe.
Important
Do not add anything other than water to the mix. For a mixed colour, you can blend several colours while dry, before adding water; see the mixed colours page for details. Keep any leftover mix in a cool place and use it within 24 hours.
3. Application
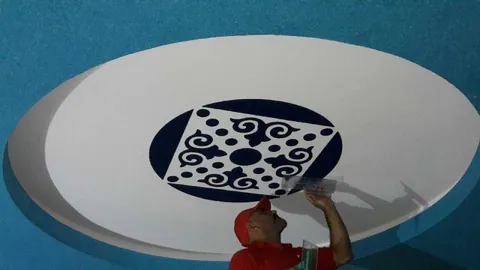
Spread the prepared mix onto the wall with the transparent DEPKA trowel and smooth it to a thickness of 1.5–2 mm. Because the trowel is transparent, you can see the surface underneath as you work.
- Practise first. Work in small sections, like a jigsaw puzzle, until you get the feel of it.
- If you take a break. If you are going to finish a wall later, start by dampening 10–15 cm along the edge of the previous section so that the join does not show.
- Corners. Finish one corner first; doing the opposite corner a little later gives a neater result.
- Trowel marks. If trowel marks or small flaws show once the surface is dry, lightly dampen the area and smooth it out.
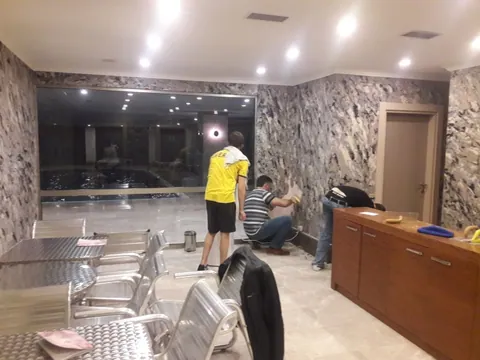
- Patterns. Combine different colours on the trowel or on the wall to create veined and marble-look patterns.
4. Drying and storage
- Drying time
- 12–24 hours, depending on the weather
- While drying
- Ventilate the room; to speed things up, you can run a fan from a distance
- Leftover mix
- Keep in a cool place and use within 24 hours
- Unopened packs
- Store in a dry, well-ventilated place
Care
Repair, cleaning and care
Cotton plaster needs no special care; a dirty or damaged area is simply renewed with water. When applied correctly, it comes with a guarantee of up to 10 years in new buildings and 3 years in older buildings.
- Small scratches, pen marks, stains: Wet the area with water, wait a little and smooth it with a flat-based glass or plastic trowel.
- Larger damage or heavy soiling: Wet the area and remove it, add the same product and smooth it with a flat piece of glass or plastic.
Once dry, there is no visible touch-up mark of the kind you get with paint. After application, keep some product aside for repairs.
Watch the application
See the preparation and application steps on video. For all our videos, visit the training videos page.
Questions about application
What should the consistency of the mix be?
The right consistency is about as soft as an earlobe. Add 4 litres of warm water per 1 kg of product; the 20-minute rest lets the water soak right into the cotton and makes application easier.
I'm applying it for the first time. Where should I start?
Try it on a small, inconspicuous area and work in small sections, like a jigsaw puzzle, until you get the feel of it. Finish one corner first and do the opposite corner a little later. For larger projects, ask us for advice.
How do I carry on with a half-finished wall?
So that the join does not show, dampen 10–15 cm along the edge of the earlier application and continue from there.
How much mix should I prepare at once?
Mix no more than 6 kg of product at a time. Prepared mix should be kept in a cool place and used within 24 hours, so only prepare as much as you can apply the same day.
Is applying cotton plaster the same as applying silk plaster?
No. DEPKA cotton plaster is not silk plaster, and it has its own preparation and application rules. The ratios and times on this page apply only to DEPKA cotton plaster. See our comparison article for the differences.


Ready to get started?
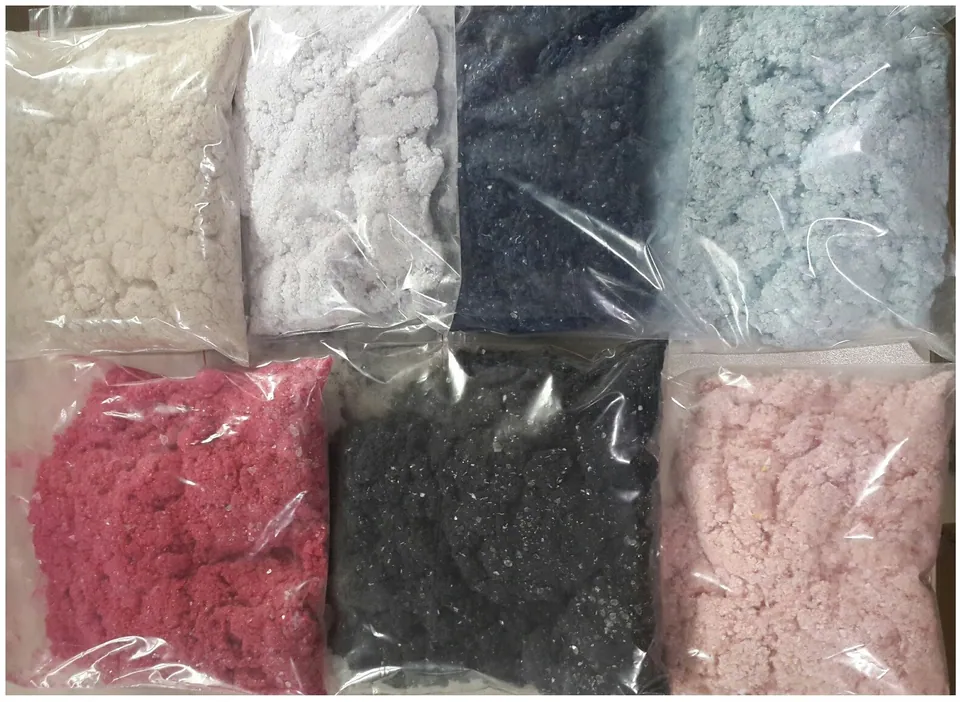
Choose your colour and work out how many packs you need. Our WhatsApp line is open for any questions.